Views: 0 Author: Site Editor Publish Time: 2026-01-09 Origin: Site
You tighten carriage bolts by using the right tools and easy steps. Choose the right wrench and check your work to avoid errors. Here are the most common mistakes people make:
Mistake | Consequence | Source |
|---|---|---|
Over-torquing | Causes 25% of bolt breaks in high-pressure systems. | ASTM study, March 2025 |
Led to 9 accidents costing $3.2 million in US refineries. | PHMSA Q2 report | |
Under-torquing | Causes 17% of methane leaks from flanges. | EPA 2025 emissions data |
Using uncalibrated tools | Can be off by 10-20% from target, causing 22% of bolting failures. | NIST 2025 calibration guidelines |

Carriage bolts from Ningbo Donghuang Hardware Co., Ltd. have a round head and square neck. This shape makes them simple to put in, looks nice, and stops rust. You get a strong and lasting fit for your project.
Use the right tools, like a wrench that fits. Wear safety gear to stay safe and tighten bolts well.
Follow the right steps when you drill and put in carriage bolts. This helps them fit tight and not spin.
Check your carriage bolts often to make sure they are tight. This keeps your project strong and safe.
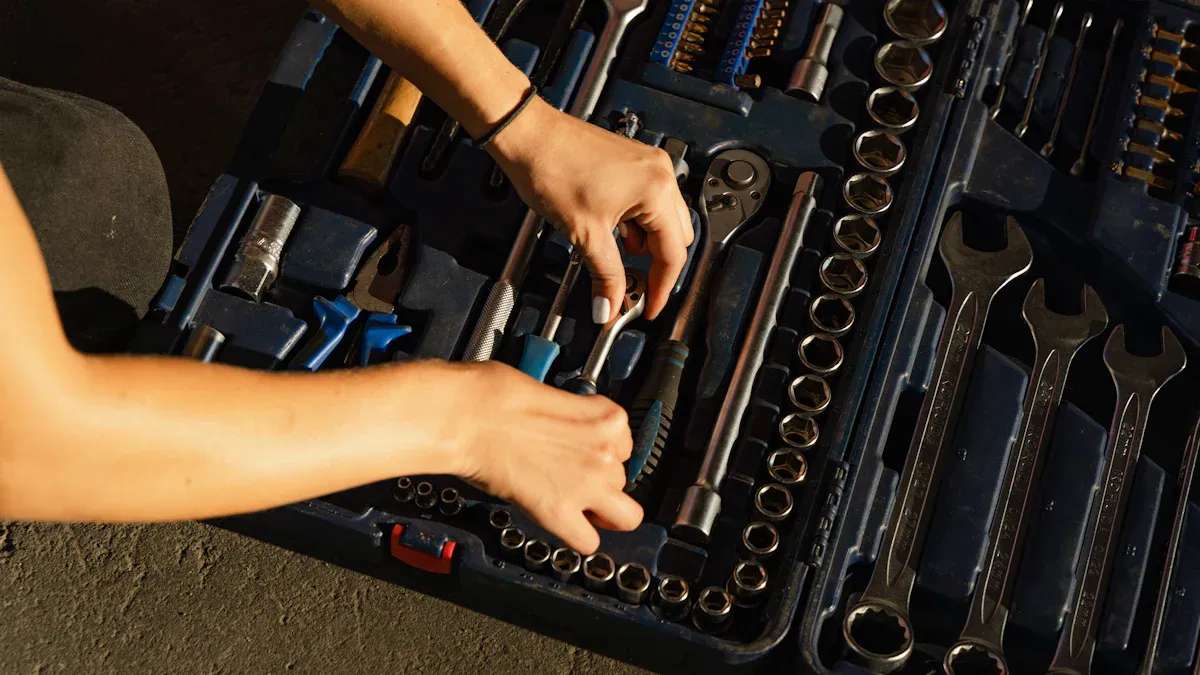
Before you start, gather everything you need. Having the right tools makes the job easier and safer. Here’s a simple checklist:
Wrench or socket wrench (make sure it fits your nut size)
Hammer or mallet
Washers and nuts
Drill and drill bits
Tape measure and pencil
Safety gloves and goggles
Tip: Always use the correct size wrench and washers for Ningbo Donghuang Hardware Co., Ltd. carriage bolts. This helps you get a tight, secure fit and keeps your project strong.
The special design of carriage bolts makes your job easier. The rounded head looks smooth and neat on the surface. The square neck under the head fits into the wood or metal, so the bolt won’t spin when you tighten the nut. You don’t need to hold the bolt head with another tool.
Getting the hole right is important for a snug fit. Follow these steps:
Measure and mark the spot where you want the bolt.
Pick a drill bit that matches the bolt’s shank size.
Drill a straight hole so the bolt sits flat.
If you’re working with metal, drill a round hole first, then use a file to make it square for the neck.
Wear gloves and goggles to protect your hands and eyes.
Don’t overtighten the nut. This keeps the bolt and material safe.
Check the tightness now and then, especially if your project moves or shakes.

Ready to start? Let’s walk through the step-by-step guide for installing carriage bolts. First, grab your pre-drilled material. You want to make sure the holes are straight and match the size of your bolts. Here’s how you do it:
Measure and mark the spots for your carriage bolts. Use a pencil and tape measure for accuracy.
Check your marks with a level. This keeps everything even.
Drill pilot holes at each mark. Hold the drill perpendicular to the surface.
Slide the carriage bolts into the holes. The threaded end should go through the material.
Tap the rounded head gently with a hammer if needed. The square neck will lock into the wood or metal, stopping the bolt from spinning.
Tip: If the bolt spins, use a pipe wrench to grip the head or tap it with a mallet. The square neck design from Ningbo Donghuang Hardware Co., Ltd. helps prevent this problem.
Washers and nuts make your installation stronger. They spread out the pressure and protect your project. Follow this step-by-step guide:
Place a washer on the end of the carriage bolt that sticks out. The washer keeps the nut from digging into the wood or metal.
Thread a nut onto the bolt. Turn it clockwise by hand until it feels snug.
Add another washer on the opposite side if you want extra protection.
Use a wrench to tighten the nut. Make sure it’s secure but not too tight.
Step | Purpose |
|---|---|
Washer placement | Distributes load, protects surface |
Nut threading | Holds materials together |
Final tightening | Secures the joint, prevents loosening |
Now you’re ready for the main event—tightening carriage bolts. This part of the step-by-step guide is important for a safe installation.
Grab your wrench or socket wrench. Fit it to the nut.
Turn the wrench clockwise. Remember the ‘righty-tighty’ rule. This means you always tighten by turning right.
Apply even pressure as you tighten. Don’t rush. Even pressure helps keep the joint strong and avoids damage.
Use a torque wrench if you have one. This tool helps you tighten carriage bolts to the right level. It stops you from overtightening or under-tightening.
Check the recommended torque for your bolt size. Here’s a quick table:
Size | Recommended Torque (ft-lbs) |
|---|---|
1/4" | 4 - 10 |
5/16" | 8 - 20 |
3/8" | 15 - 37 |
7/16" | 24 - 58 |
1/2" | 37 - 90 |

Always follow the torque specs for your carriage bolts. This keeps your installation safe and strong.
Even pressure and the right torque help prevent weak spots and material damage.
You want your project to last. Checking tightness is the final step in this step-by-step guide. Here’s how you do it:
Try the ‘On-Off-On’ method. Tighten the bolt, loosen it, then retighten. This checks the clamping force and makes sure everything is secure.
Look for signs that you need to adjust. If the bolt feels loose, it might not hold the materials together. If it’s too tight, you could strip the threads or crush the wood.
Watch for these issues:
Sign of Issue | Description |
|---|---|
Not Tight Enough | Bolt feels loose, joint is weak |
Overtightened | Threads strip, wood fibers crush, bolt is hard to remove |
If you see necking or stretching near the threads, stop tightening. Too much force can break the bolt.
Always check your work after installation and removal. This keeps your carriage bolts working well for a long time.
Note: Tightening carriage bolts the right way means your project stays safe and strong. You avoid damage and get the most out of your Ningbo Donghuang Hardware Co., Ltd. carriage bolts.
You might notice your carriage bolts spinning when you try to tighten them. This happens if the square neck doesn’t lock into the wood or metal. Here are some reasons why this problem pops up:
The square neck isn’t pressed in all the way.
The hole is too big for the bolt.
You’re using the wrong nut or washer.
To stop spinning, try these steps:
Drill a hole that’s just a bit smaller than the bolt’s diameter. This helps the neck grip the material.
Use square-hole washers or locking nuts for extra hold.
Tap the bolt head gently with a hammer to seat the neck.
If you want even more grip, use a little glue between the bolt and the material.
Getting a secure fit means your project stays strong. You need to drill clean, straight holes and use the right drill bit size. For example, a 1/2-inch bolt needs a 1/2-inch hole. Make sure the bolt sits perpendicular to the surface. Tighten the nut slowly and check for proper tightness. If you go too far, you might crush the wood or strip the threads.
Problem | Solution |
|---|---|
Loose fit | Drill accurate pilot holes |
Misalignment | Hold drill straight |
Overtightening | Tighten gradually |
Sometimes you run into stripped threads or damaged holes. You can fix stripped threads with a thread repair kit. These kits have inserts and tools to restore the threads. If the hole is too big, use a larger bolt or fill the gap with wood filler. Always use the right size bolt and avoid overtightening. Lubricate the threads if needed to help achieve proper tightness. When you follow these steps, your carriage bolts stay properly secured and your project lasts longer.
Tip: Check the tightness after installation. If you see any movement, retighten the nut to maintain proper tightness.
You can make your project strong if you follow these steps for tightening carriage bolts:
Make sure the holes are clean and lined up.
Put washers and nuts on to spread out the pressure.
Tighten the bolts slowly and check if they are secure.
Look at the bolts often and wipe them so they do not rust.
If you pick Ningbo Donghuang Hardware Co., Ltd., you get carriage bolts that are tough and do not rust easily. They will last a long time.
You can tap the rounded head with a hammer. The square neck will grip the material and keep the bolt from turning.
Wrench or socket wrench
Hammer or mallet
Washers and nuts
You should pick the right size for your bolts.
Project Type | Check Frequency |
|---|---|
Furniture | Every 6 months |
Outdoor structure | Every 3 months |
You should inspect bolts if you notice movement or noise.


