Views: 0 Author: Site Editor Publish Time: 2025-10-09 Origin: Site
To install concrete screws the right way, you need to use the correct tools and follow each step carefully. You ensure the screws hold strong and keep your project safe when you pay attention to details. Even if you are new to this, you can complete the job with confidence. Reliable fasteners from Ningbo Donghuang Hardware Co., Ltd. help you get the results you want.
Get all the tools and materials you need before you start. This will help the job go smoothly.
Drill a pilot hole before you put in concrete screws. This step is very important for a tight fit.
Clean out the hole well to get rid of dust and dirt. This helps the screw hold onto the concrete better.
Use a regular drill instead of an impact driver for the screw. This stops damage and gives you more control.
Check your measurements again and use the checklist. This helps you avoid mistakes and makes the installation strong.
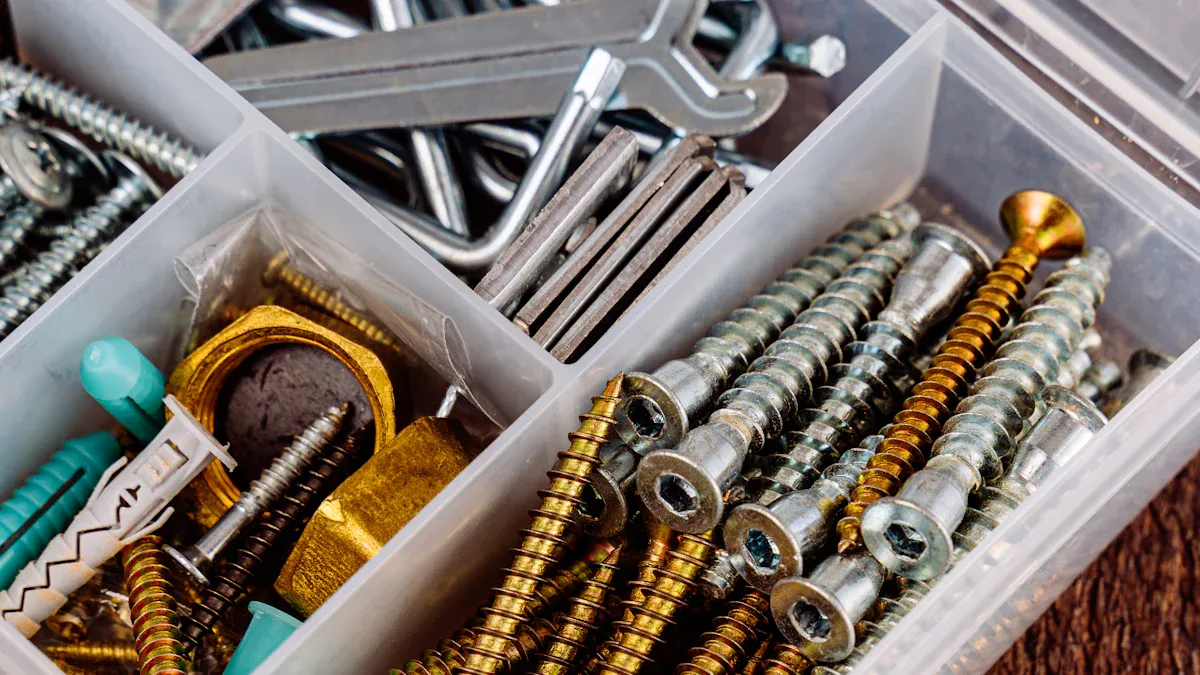 Image Source: pexels
You should get all your tools and materials before you start. The right equipment helps your concrete screws stay tight and last longer. Ningbo Donghuang Hardware Co., Ltd. has many fasteners, like drywall screws and anchors, to help you finish your job well.
You only need a few main tools to put in concrete screws safely. Experts say you should use these:
Hammer drill
This tool makes neat holes in concrete.
Masonry bit (size matched to the screw)
Pick the right size so the screw fits well.
Spare masonry bit
Concrete can wear out bits fast, so keep an extra.
Screwdriver or drill with a screwdriver bit
This tool helps you put the screw in without breaking it.
Pencil or marker
Use this to mark where each screw will go.
Tip: Always check your measurements two times before you drill. This helps you avoid mistakes and saves time.
Having the right materials is just as important as having the right tools. Here are some common materials used with concrete screws:
Stainless steel
This is best for outside or wet places because it does not rust.
Lead
Use this where concrete chemicals might cause trouble.
Zinc
Zinc is used for coating and helps stop rust.
Plastic
This is good for small jobs and does not rust.
There are different concrete screws for different jobs. The table below shows some types and what they are used for:
Type of Screw | Material | Typical Applications |
|---|---|---|
Standard blue | Low-grade carbon steel | General masonry work |
Stainless steel | 410 stainless steel | Corrosive environments |
Large Diameter (LDT) | Hardened carbon steel, zinc | Heavy-duty applications |
Stainless steel LDT | 410 stainless steel | Marine applications |
When you pick our products, you get strong fasteners that pass tough tests. Our screws work for many jobs, from fixing things at home to big building projects.
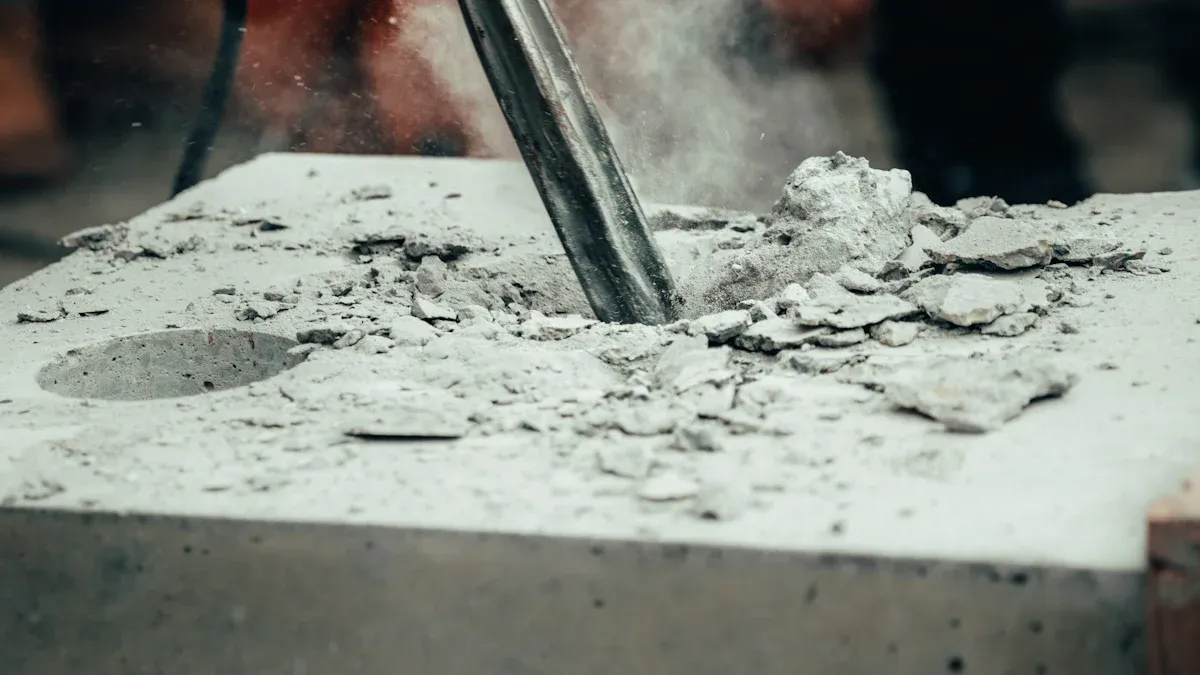 Image Source: pexels
 Installing concrete screws the right way ensures your project stays secure and lasts longer. Follow these installation steps to get the best results.
Start by preparing the surface. Make sure the concrete is clean and free of dust or debris. Mark the exact spot where you want to place each screw. Use a pencil or marker for accuracy. Always double-check your measurements to avoid mistakes.
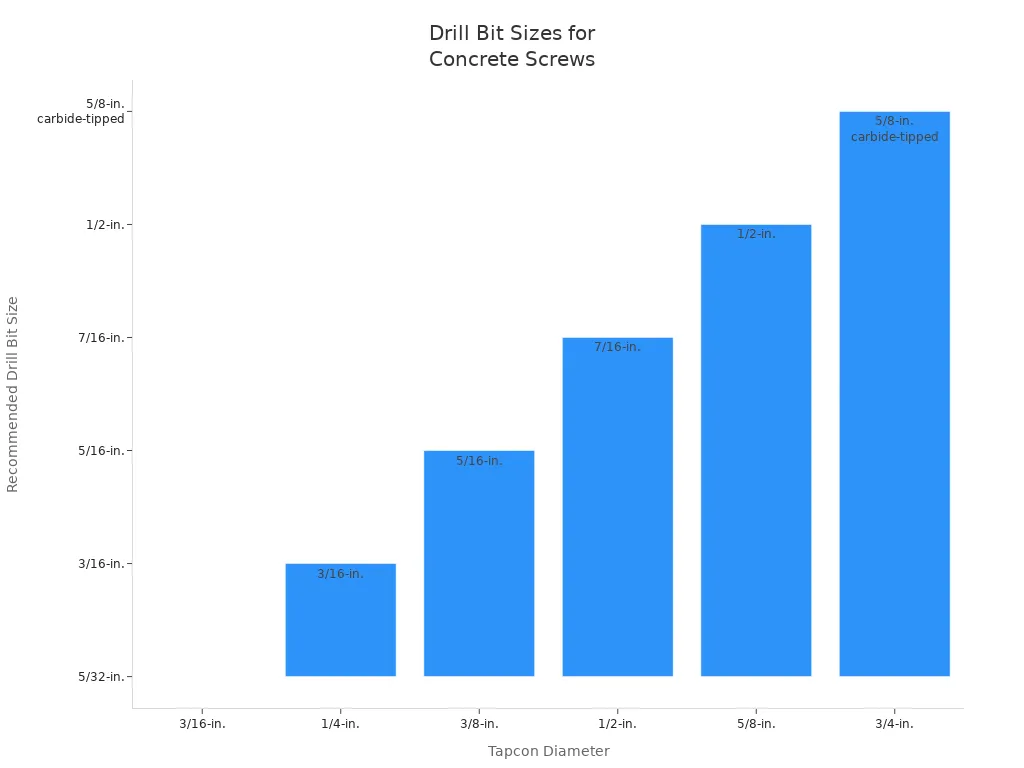
Select the correct drill bit size for your concrete screws. The table below shows the recommended drill bit sizes for different screw diameters:
Tapcon Diameter | Recommended Drill Bit Size |
|---|---|
3/16-in. | 5/32-in. |
1/4-in. | 3/16-in. |
3/8-in. | 5/16-in. |
1/2-in. | 7/16-in. |
5/8-in. | 1/2-in. |
3/4-in. | 5/8-in. carbide-tipped |
Use a hammer drill with a carbide-tipped masonry bit. Drill the hole straight and steady. Make the hole at least 1/2 inch deeper than the length of the screw. This extra depth gives space for dust and helps the screw hold tight. For heavy-duty bolts, drill deep enough so the screw goes in at least ten times its diameter.
Tip: Put a piece of duct tape on your drill bit to mark the correct depth.
After drilling, you must clean the hole. Dust and debris can stop the screw from gripping the concrete. Use a vacuum or a blower gun with a short piece of tubing to remove all dust. If you do not have a blower, try using a stiff wire to help clear out the hole.
Note: Cleaning the hole is one of the most important installation steps. Skipping this can lead to loose screws and weak connections.
Line up your fixture or bracket with the drilled hole. Place the concrete screw through the fixture and into the hole. Make sure the screw goes in straight. Do not force the screw if it feels stuck. Check that the hole is clean and deep enough.
Ningbo Donghuang Hardware Co., Ltd. offers high-quality fasteners that fit perfectly and meet strict standards. Their concrete screws work for many applications, from home repairs to large construction projects.
Use a drill with a screwdriver bit to drive the screw into the hole. Do not use an impact driver for this step. Impact drivers create too much torque and can damage the screw or the concrete. A regular drill gives you better control and helps prevent over-tightening.
Turn the screw until the head sits flush with the surface. Do not overtighten, as this can strip the hole or break the screw. If you feel resistance, stop and check your work.
Safety Reminder: Always wear safety glasses and gloves when drilling into concrete.
By following these installation instructions, you make sure your concrete screws hold strong and last long. Using the right tools and high-quality fasteners from Ningbo Donghuang Hardware Co., Ltd. helps you avoid common mistakes and get professional results every time.
You can achieve a strong and safe installation by following a few key tips. Professional contractors recommend these steps for the best results:
Always drill a hole before inserting a concrete screw. Even though concrete screws have threads, you need a drilled hole for safe and secure installation.
Create a good hole. Drill the hole perpendicular to the surface, with the correct diameter and depth. Avoid hitting any reinforcement and keep proper spacing between holes.
Clean the hole every time. Dust and debris left inside can stop the screw from gripping well. Use a vacuum or blower to remove all dust before inserting the screw.
Double-check your measurements before drilling. This helps you avoid mistakes and saves time.
Wearing the right protective gear keeps you safe during installation. Here is a quick guide:
Protective Gear | Purpose |
|---|---|
Gloves | Protect your hands from chemical burns and sharp tools. Waterproof and alkali-resistant gloves work best. |
Steel-Toed Boots | Keep your feet safe from falling objects and help prevent slips on wet surfaces. |
Eye Protection | Shield your eyes from dust and splashes. |
Hard Hats | Guard your head against falling objects. |
Respiratory Protection | Filter out harmful dust and prevent breathing problems. |
Inhaling dust can cause breathing problems. Wet concrete can burn your skin. Always wear gloves and a mask.
Many beginners make the same mistakes when installing concrete screws. You can avoid these problems by learning what to watch out for:
Drilling holes that are too small or too large. If the hole is too small, the screw will not fit. If it is too large, the screw will not hold tight.
Not drilling deep enough. The hole should be at least 1/4 inch deeper than the screw to allow for dust.
Skipping the cleaning step. Dust left in the hole can stop the screw from going in all the way or cause it to loosen over time.
Using the wrong drill bit size.
Using the incorrect masonry drill bit will affect performance, and could lead to failure.
Over-tightening the screw. This can strip the hole or break the screw.
Not aligning the screw straight. Misalignment can cause the screw to fail or loosen.
Ignoring temperature changes. Rapid changes can cause screws to loosen, especially in outdoor projects.
By following these tips and avoiding common mistakes, you help your concrete screws stay secure and your project last longer.
Before you start your concrete screw installation, use this checklist to make sure you have everything you need and follow each step correctly. This list helps you avoid mistakes and keeps your project safe and strong.
Hammer drill with a carbide-tipped masonry bit
Spare masonry bit
Drill with screwdriver bit
Pencil or marker
Vacuum or blower
Safety gear (gloves, eye protection, mask, steel-toed boots, hard hat)
High-quality concrete screws from Ningbo Donghuang Hardware Co., Ltd.
Mark the spot
Use a pencil or marker to mark where you want to place each screw.
Drill the hole
Select the correct masonry bit size. Drill straight and at least 1/2 inch deeper than the screw length.
Clean the hole
Remove all dust and debris with a vacuum or blower.
Align the fixture
Place your bracket or fixture over the hole.
Insert the screw
Push the screw through the fixture and into the hole.
Drive the screw
Use a drill (not an impact driver). Stop when the screw head is flush with the surface.
Check your work
Make sure each screw is tight and straight.
Tip: Double-check your measurements before drilling. This saves time and prevents errors.
Step | Completed? (✔️/❌) |
|---|---|
Tools ready | |
Marked spots | |
Drilled holes | |
Cleaned holes | |
Screws inserted | |
Screws driven | |
Final check |
Always use certified fasteners from Ningbo Donghuang Hardware Co., Ltd. for the best results.
You can install concrete screws the right way by following these main steps:
Drill a pilot hole with a hammer drill and masonry bit. Make the hole slightly smaller and deeper than the screw.
Insert the screw and turn it clockwise with a drill or screwdriver.
Good preparation helps your screws hold strong. Use proper drilling, clean the holes, and follow all instructions. Always check your checklist before starting. With the right approach and quality fasteners, you can achieve a secure installation every time.
You should match the screw diameter to your fixture’s thickness. For most home projects, 3/16-inch or 1/4-inch screws work well. Always check the manufacturer’s guide for best results.
You should not reuse concrete screws. Once you remove them, the threads in the concrete may not grip tightly again. For safety and strength, always use a new screw.
Check if dust remains in the hole. Clean it out with a vacuum or blower. Make sure you drilled deep enough. If the problem continues, try a new screw from Ningbo Donghuang Hardware Co., Ltd.
You do not need anchors with most concrete screws. The threads cut into the concrete and hold tight. For extra-heavy loads, use anchors as recommended by the manufacturer.


