
Views: 0 Author: Site Editor Publish Time: 2026-07-09 Origin: Site
You stand facing a blank wall, holding a picture frame in one hand and a cheap plastic anchor in the other. Your hammer sits nearby, tempting you to just smash the hardware straight through the drywall. Many consumer goods arrive packaged alongside flimsy wall anchors and zero installation instructions. This frustrating lack of guidance routinely leads to ruined paint, crushed drywall, and falling shelves.
You should never forcefully hammer a standard anchor blindly into solid drywall without drilling a proper pilot hole. You only use a hammer to gently tap a correctly sized anchor flush against the surface. We will explore the mechanics behind these common fasteners and why brute force guarantees failure. You will also learn why upgrading to a professional Nylon Anchor offers a structurally reliable alternative to brittle plastic hardware.
Securing objects to drywall safely requires preserving the structural integrity of the wall's gypsum core. Gypsum acts as a relatively soft mineral compound. It crumbles under direct, concentrated pressure. Wall anchors must engage this fragile material gently to distribute weight loads evenly. If you destroy the core during installation, the wall cannot hold your items.
Standard wall anchors rely on outward radial pressure to secure themselves. The screw forces the anchor to expand after it seats perfectly inside the wall cavity. This outward expansion creates necessary friction against the surrounding gypsum. Friction prevents the hardware from slipping out under heavy loads. The anchor body must remain entirely intact for this expansion mechanism to work.
Driving an anchor without a pilot hole initiates immediate structural failure. The blunt tip tears the protective paper facing of the drywall. The resulting impact pulverizes the inner gypsum core into loose powder. Hammer blows directly crush the hollow plastic body of the anchor. A crushed anchor cannot expand uniformly when you insert the screw. It simply wallows out a jagged, unstable cavity. This compromised hole offers zero reliable holding power.
You will occasionally encounter self-drilling anchors, which serve as the lone exception. These fasteners look distinctly different. They feature thick, aggressive threads and sharp cutting tips. You drive them entirely using a screwdriver. You never strike them. They cut their own precise threads into the wall panel. Regular expansion hardware lacks this cutting ability.
Common Mistake: Many beginners assume all plastic fasteners act like nails. Nails push wood fibers aside. Wall anchors compress drywall dust. Treating an anchor like a nail always results in loose, failing mounts.
You should immediately throw away the free anchors included alongside flat-pack furniture. Manufacturers often supply the cheapest hardware possible to maximize profits. These flimsy freebies frequently cause severe wall damage. Buying dedicated, professional-grade hardware saves immense frustration and protects your property.
Standard plastic fasteners typically utilize low-grade polyethylene or PVC. These materials feel highly rigid and brittle. They snap easily when hammered. They strip rapidly under slight torque from a screwdriver. Their smooth sides offer poor grip inside smooth holes. We consider them entirely unreliable for holding mirrors, heavy frames, or shelving. They possess notoriously low weight capacities.
Upgrading to a dedicated Nylon Anchor provides distinct structural advantages. Nylon possesses natural elasticity. This material absorbs shock effectively. It prevents the collar from shattering under gentle hammer taps. It resists extreme temperature fluctuations. It handles ambient room moisture without degrading over time.
Most importantly, nylon features aggressive anti-rotation fins. These external splits and ridges grip the drywall tightly. They stop the entire unit from spinning hopelessly while you drive the screw. Professional hardware delivers highly predictable shear metrics. You can trust the manufacturer's pull-out strength ratings.
| Feature | Standard Plastic (PVC/Poly) | Nylon Hardware |
|---|---|---|
| Flexibility | Highly rigid, brittle | Elastic, absorbs impact |
| Durability under Hammering | Crushes or shatters easily | Maintains shape under light taps |
| Grip Design | Smooth sides, minimal ridges | Deep anti-rotation fins |
| Temperature Resistance | Weakens in heat, snaps in cold | Highly stable across temperatures |
| Load Predictability | Unreliable, prone to sudden failure | Consistent pull-out strength |
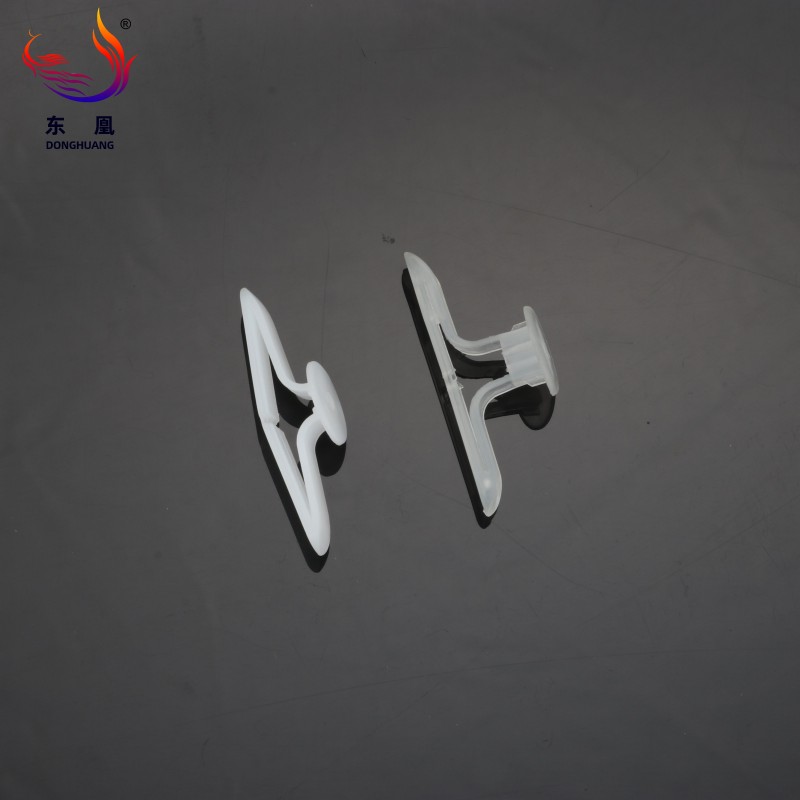
Establishing proper preparation ensures a secure, flush installation without unnecessary wall damage. Gathering the correct items prevents mid-project mistakes. Having the right tools within arm's reach streamlines the entire mounting process.
You must assemble the following toolkit before drilling into your walls:
Sizing the pilot hole represents the golden rule of anchoring. The drill bit diameter must match the solid core body of the nylon unit. You must strictly exclude the width of the outer fins. If you measure across the fins, the hole becomes too large. The hardware will slide in loosely. It will fail to grip the gypsum edges.
Best Practice: Hold the bit directly in front of the fastener. You should barely see the ridges peeking out behind the drill bit edges. The core should remain completely hidden.
Never assume the screw packaged alongside a cheap anchor is the correct gauge. Manufacturers frequently mismatch screws. The screw must run slightly longer than the anchor itself. This extra length ensures the screw reaches the very tip. It forces the split wings to open fully inside the wall cavity. A short screw prevents full expansion.
Follow these precise steps to execute a flawless installation. Rushing through these actions usually compromises the structural integrity of the mount.
Mistakes happen frequently during home improvement projects. Recognizing the signs of failure early prevents you from mounting heavy objects onto compromised hardware. We outline the most common risks below.
Your hardware might spin endlessly inside the wall. You drilled the pilot hole too large. Alternatively, you selected a cheap option lacking anti-rotation fins. Stop driving the screw immediately. Remove the spinning unit completely. Patch the damaged hole using joint compound. Move your installation site a few inches away. If you cannot move the location, upgrade to a heavy-duty toggle bolt instead.
Sometimes the collar bends or crushes during the tapping phase. The pilot hole remains too small for the hardware. You might also be using excessive force. Grab a pair of needle-nose pliers. Pull the ruined unit out firmly. Size up your drill bit by one-sixteenth of an inch. Re-drill the hole carefully. Insert a fresh nylon piece.
Over-torquing the screw destroys the internal mechanism entirely. People often use high-powered impact drivers instead of hand tools. Power tools strip the soft interior threading instantly. The screw will spin freely without ever tightening. You must remove the stripped unit. Never trust a stripped fastener to hold weight.
| Risk / Symptom | Primary Cause | Immediate Fix |
|---|---|---|
| Anchor spins in wall | Pilot hole too large; smooth anchor body | Remove, patch hole, relocate or use toggle bolt |
| Collar bends during tapping | Pilot hole too small; excessive hammer force | Extract with pliers, size up drill bit 1/16" |
| Screw spins endlessly | Over-torqued with power tools; stripped threads | Remove and replace; use manual screwdriver |
A hammer serves purely as a finishing tool for wall fasteners, never as a primary driving tool. Brute force destroys the delicate gypsum core of your drywall. Destroyed drywall cannot support heavy frames, mirrors, or shelving.
Always take the time to drill a precise pilot hole first. Tap the collar gently until it sits perfectly flush. Invest slightly more money into high-quality nylon hardware to guarantee the safety of your mounted items. Throw away the flimsy freebies included in consumer packaging.
Inspect your drill bits and select the correct screw length before you begin. Taking these measured steps ensures your wall decor remains securely mounted for years.
A: Yes, you can use an awl or a Phillips screwdriver to gently ream a hole in drywall. You simply press and twist the tool until it creates a small opening. However, a power drill provides the cleanest, most accurate pilot hole. Clean holes prevent drywall damage and ensure the hardware grips properly.
A: Hold the drill bit directly in front of the anchor. The bit should perfectly hide the anchor’s solid core body. However, it must leave the outer ridges or fins visible. If the bit covers the fins completely, your pilot hole will be too large. The hardware will spin helplessly inside the wall.
A: Thread a slightly larger screw partway into the damaged collar. Grip the screw head tightly with needle-nose pliers. Pull straight out firmly to remove it. If it refuses to budge, use a utility knife. Slice the collar off flush with the wall. Push the remaining body deep into the wall cavity.

