
Views: 0 Author: Site Editor Publish Time: 2026-06-25 Origin: Site
Engineers and fabricators constantly face a distinct mechanical hurdle. They must secure robust, load-bearing threads in thin materials like sheet metal, fiberglass, or plastics. Often, accessing the back of these panels proves physically impossible. This specific limitation makes traditional fastening methods entirely useless.
Enter Rivet Nuts. They serve as the industry-standard solution for automotive restoration, DIY construction, and high-volume manufacturing. A blind installation demands a specialized approach to create a permanent threaded anchor.
Tool selection and precise technique are critical to ensuring your project succeeds. Improper installation easily leads to spinning fasteners, stripped threads, or permanently damaged workpieces. You will discover exactly how to prepare holes and execute a flawless installation. We will also cover how to select proper tools, avoid common pitfalls, and troubleshoot issues.
Traditional nuts and bolts require two-sided access. You need a wrench on both sides to tighten them properly. Self-tapping screws offer a quick alternative. However, they lack significant load-bearing strength. They strip out easily under repeated use or heavy vibrations. Thin sheet metal simply does not provide enough material for standard screw threads to grip.
A successful application requires meeting specific engineering criteria. A properly installed blind fastener creates a flush, permanent threaded insert. It must resist heavy vibration. It should never distort the base material during installation. Most importantly, the fastener must not spin when you apply torque to a bolt.
Mechanics and fabricators rely on these fasteners for countless common scenarios. Automotive technicians use them to install aftermarket parts securely. You might mount a heavy roof rack or attach protective skid plates. Fabricators assemble complex metal enclosures using them. They also prove invaluable when mounting hardware to thin-walled tubing. Tubing inherently restricts all internal access.
Selecting the proper installation mechanism dictates the reliability of your threads. Different approaches suit varying material hardness and project scales. You must match the tool to your specific requirements.
The DIY friction method involves using a bolt, an oversized nut, and two wrenches. You manually compress the fastener by tightening the bolt while holding the oversized nut stationary. This approach carries a high risk of cross-threading. The seating often remains inconsistent. We consider this acceptable only for absolute emergencies. It works marginally well for a single, low-torque aluminum installation.
Manual hand tools serve as the industry standard for hobbyists and field mechanics. They operate similarly to a heavy-duty pop rivet gun. These tools use mechanical leverage to pull a mandrel and compress the fastener body. Lever-style tools generally offer better stroke control. They require less physical exertion than basic plier styles. We recommend them for aluminum and steel up to M8 sizes.
Pneumatic and battery-powered setters automate the process completely. They utilize a spin-pull-spin mechanism for rapid, repeatable compression. High-volume manufacturing environments absolutely require them. They easily handle hard materials like stainless steel. The upfront cost is higher. However, they yield zero-defect scaling. They also eliminate operator fatigue completely.
| Tool Type | Mechanism | Ideal Use Case | Risk Level |
|---|---|---|---|
| DIY Friction Method | Manual bolt turning | Emergencies, soft aluminum | High (Inconsistent compression) |
| Manual Plier Tool | Single-hand leverage | Small fasteners (M3-M5) | Medium (Operator fatigue) |
| Manual Lever Tool | Two-handed compound leverage | Field repairs, standard steel (up to M8) | Low (Excellent stroke control) |
| Pneumatic Setter | Automated spin-pull-spin | Stainless steel, production runs | Very Low (Zero-defect repeatability) |
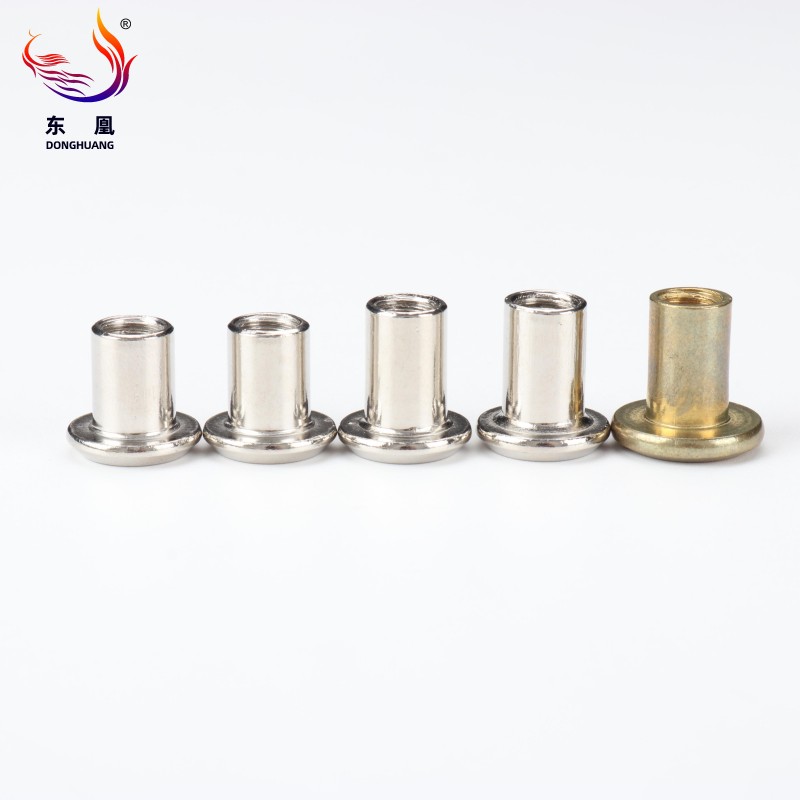
Installing Rivet Nuts correctly requires strict adherence to proper sequencing. Any deviation can easily compromise the joint integrity. Follow these exact steps for a permanent anchor.
Tilting the tool during insertion causes uneven compression. Uneven compression leads directly to early mechanical failure. Keep your hands steady during the entire stroke.
Every successful assembly begins with selecting the correct hardware. Choosing the wrong fastener specification guarantees joint failure. You must evaluate materials, body styles, and grip ranges carefully.
Material matching prevents galvanic corrosion over time. You must match the fastener material to the base material. Use aluminum fasteners for aluminum panels. Zinc-plated steel or stainless steel works perfectly for steel chassis components. Mixing dissimilar metals in wet environments accelerates rust rapidly.
Body style selection directly dictates torsional resistance. You have three primary options to choose from:
Grip range verification ensures proper clamping force. Always measure your base material thickness precisely. A fastener featuring a grip range of 0.5mm to 2.0mm will fail instantly in a 3.0mm thick panel. The unthreaded shank cannot reach past the thick material to collapse properly. Verify the manufacturer specifications before ordering.
Even experienced fabricators encounter occasional installation issues. Knowing how to diagnose and resolve these risks keeps your project moving forward smoothly.
Risk: The "Spinning" Rivnut. This occurs when you under-compress the body. It also happens if you drill the hole slightly too large. The fastener turns freely when you attempt to tighten a bolt into it. Solution: Re-insert the tool mandrel. Apply slightly more compression to bite into the material. For low-torque applications, apply a single drop of structural adhesive under the flange before insertion.
Risk: Stripped Internal Threads. Over-compressing the fastener causes this failure. Setting the tool stroke too long pulls the internal threads apart forcefully. Solution: Always calibrate your tool stroke on scrap metal first. Once stripped, you cannot repair the threads. You must drill the damaged fastener out completely and start over.
Risk: Material Warpage. Applying too much compression force damages ultra-thin sheet metal. The surrounding material bends inward under the pressure. Solution: Use a broader flange variation. A wide flange distributes the compression load over a larger surface area. If possible, back the thin metal with a secondary support plate to reinforce the joint.
A successful installation requires strict precision across three distinct stages. First, you must select the correct fastener body and material. Second, you must drill a clean, distortion-free hole. Finally, you must utilize a controlled, calibrated compression method.
Evaluate your current project scope carefully. We highly recommend transitioning away from risky DIY bolt-and-washer hacks. Investing in reliable manual lever tools or pneumatic systems protects the integrity of your base materials. Proper tooling guarantees strong, permanent threads every single time you pull the handle. Prepare your workspace, calibrate your tools, and execute the installation confidently.
A: A spinning fastener prevents you from tightening or removing a bolt. It occurs due to an oversized hole or insufficient compression. You can often fix it by reattaching your installation tool and applying more compression. If it remains loose, you must carefully drill it out.
A: Yes. You can use a DIY method involving a bolt, an oversized nut, and two wrenches. However, we strongly advise against this for critical projects. It carries a high risk of cross-threading and inconsistent seating. Specialized tools ensure even, reliable compression.
A: Select a drill bit slightly larger than the internal thread size. Drill carefully through the center of the top flange. The flange will pop off. You can then push the remaining collapsed body through the back of the hole.
A: There is no functional difference. "Rivnut" is simply a trademarked brand name originally created in the 1930s. The term has become a common proprietary eponym. Engineers use both terms interchangeably to describe blind threaded inserts.
A: You must check the specific manufacturer's data sheet for the exact drill size. Alternatively, use digital calipers to measure the outer diameter of the fastener's body. Drill a hole matching this diameter precisely. A snug fit prevents rotation during installation.

